I would have to say this is definitely one of my 5 best recipes. The meat comes out perfectly cooked and so tender, the veggies can cook in the same pot right along with it, and the sauce is the perfect combination of tangy and cheesy with just a hint of sweet. It's simple to throw together but it tastes gourmet.
My favorite thing about the Instapot is that usually you just dump stuff in and push the button. This recipe has a few more steps than normal and, generally, I'm super opposed to that. However, in this case it is 100% worth it. Matt is hands down the laziest cook in the world but this meal is so delicious that even HE chooses to make it on nights that he cooks. In fact, the dinner pictured below was made by him :) I married a brilliant man... in all things besides cooking. But that is a testament to just how easy this is.
The kids basically throw a party when they hear this is on the menu and everyone licks their plates clean....not figuratively, literally. We serve it with a side of grilled asparagus. Originally I figured this was 8 servings but then Matt ate almost an entire pork tenderloin by himself....sooooooo I changed it to 6-8. Enjoy!
 |
| Drooooooool. Also, I finally managed to take a good food pic. This was the direct result of my friend, Christine, helping me and a perfectly timed sunset for lighting :) |


Ingredients:
- 2 lb pork tenderloin
- 2 Tbsp honey
- 2/3 cup broth (I've been using veggie lately bc I found this awesome powdered veggie broth)
- 3 Tbsp soy sauce
- 2 Tbsp dried basil
- 2 Tbsp minced garlic
- 2 cups cubed potatoes (optional)
- 2 cups baby carrots (optional)
After pressure cooking-
- 2 Tbsp whole wheat flour
- 1/2 cup Parmesan cheese
1. Plug in Instapot and push the Saute button. When it says HOT, add a splash of olive oil and place the tenderloin in the pot. Let it brown a bit, about 2 mins per side.
2. Mix together the 2 Tbsp honey, 2/3 cup broth, 3 Tbsp soy sauce, 2 Tbsp dried basil, and 2 Tbsp minced garlic. Once the tenderloin is browned, take it out and place it on a plate briefly. Pour the sauce mixture into the pot and scrape the bottom to deglaze it.
3. Push Keep Warm/Cancel to turn off Saute. Add the tenderloin back to the pot and roll it around in the sauce mixture to cover it.
4. If you are using potatoes and carrots, place the trivet over the meat and then put the veggies in a steamer basket on top. Make sure the steamer basket is low enough that it doesn't interfere with the lid, though.
5. Make sure that the sealing ring is firmly in the lid of the pot, put the lid on and seal it, turn the knob on the top towards the back to "sealing", and push the Manual button and use the + and - buttons to adjust the time until it says 5 minutes.
6. At first the pot will just say "On" but, once it has come to pressure, it will start counting back the time. Once it is done cooking, it will beep and you will see an L and the time counting back up on the display. WAIT 6 MINUTES and then do a Quick Release. (for the newbies, VERY carefully WITHOUT your face or body over the top of the pot, turn the little knob on top counter-clockwise towards the front and a rush of steam will come out the top. Once the pressure is released, the little silver knob to the right of the black knob will go down and you will be able to take the lid off.)
7. Push the Keep Warm/Cancel button to turn it off and remove the veggies (if using) and tenderloin and set aside. Stir the 2 Tbsp whole wheat flour and 1/2 cup Parmesan cheese into the sauce remaining in the pot. Push the saute button and let the sauce bubble and thicken a bit, stirring frequently especially towards the end.
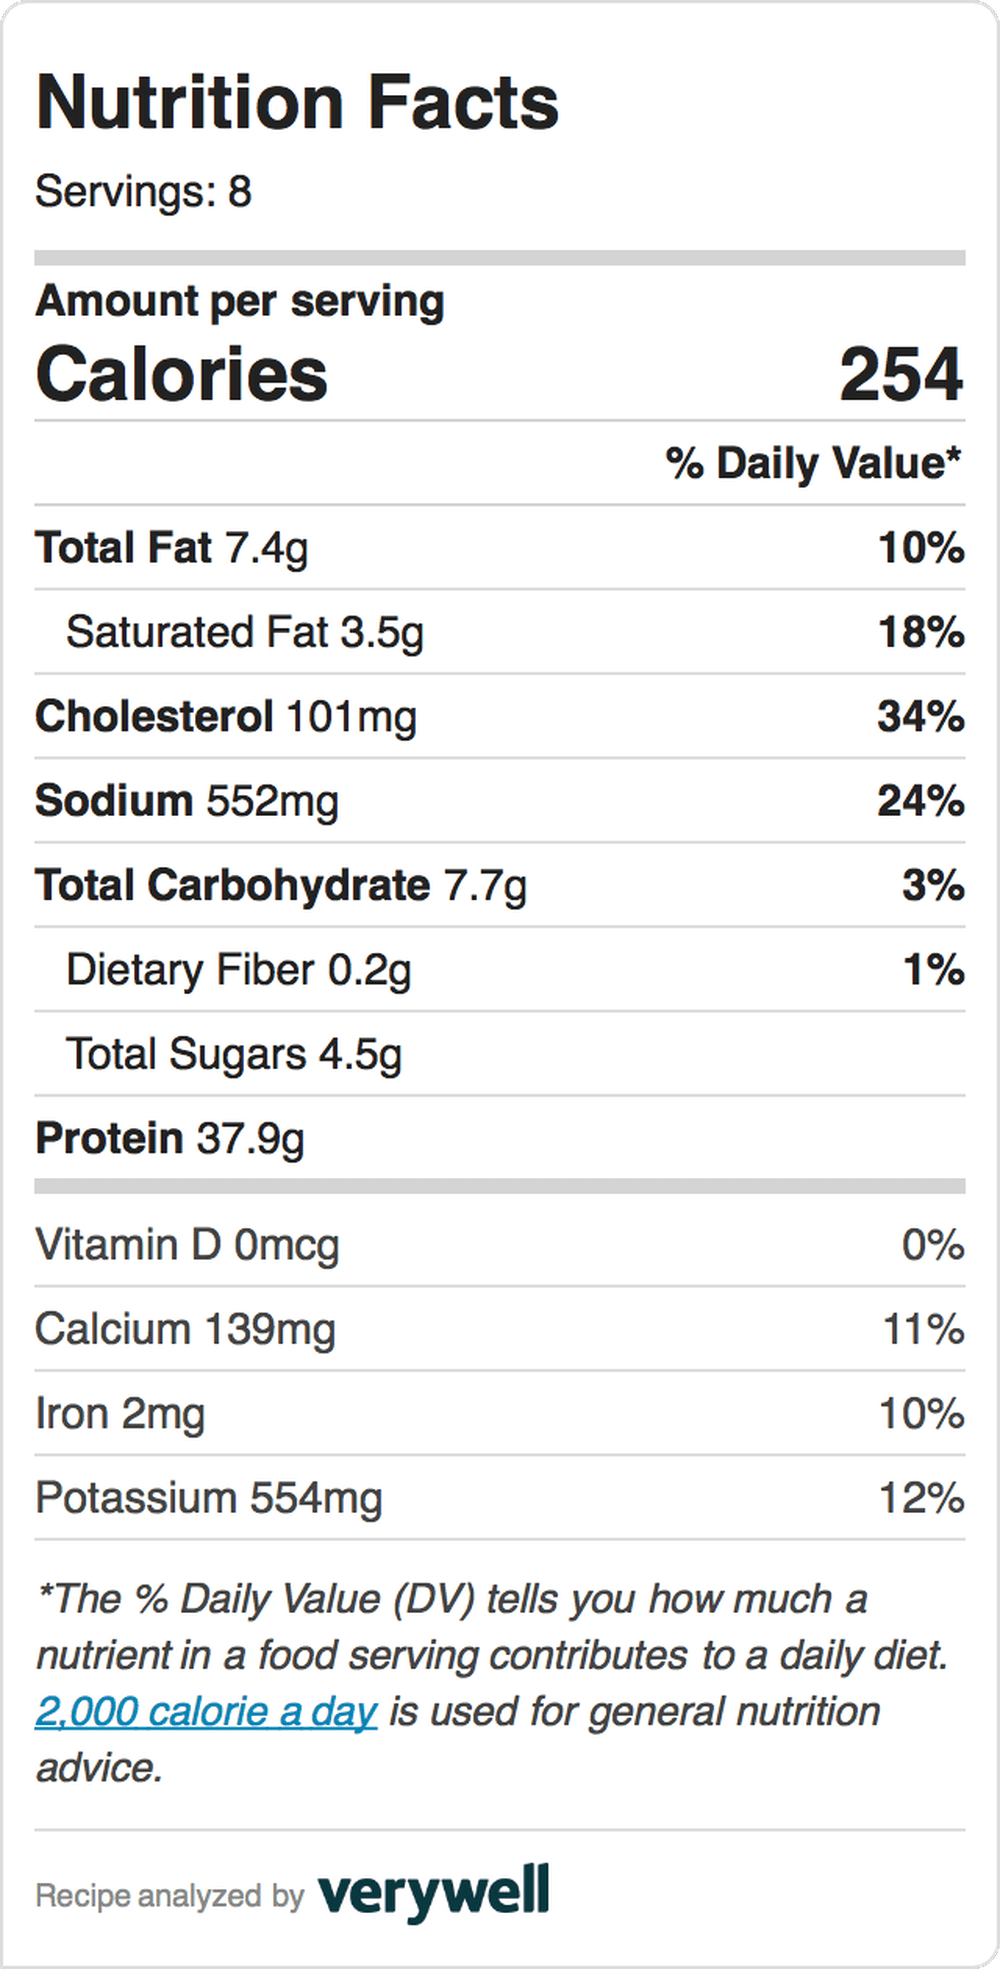
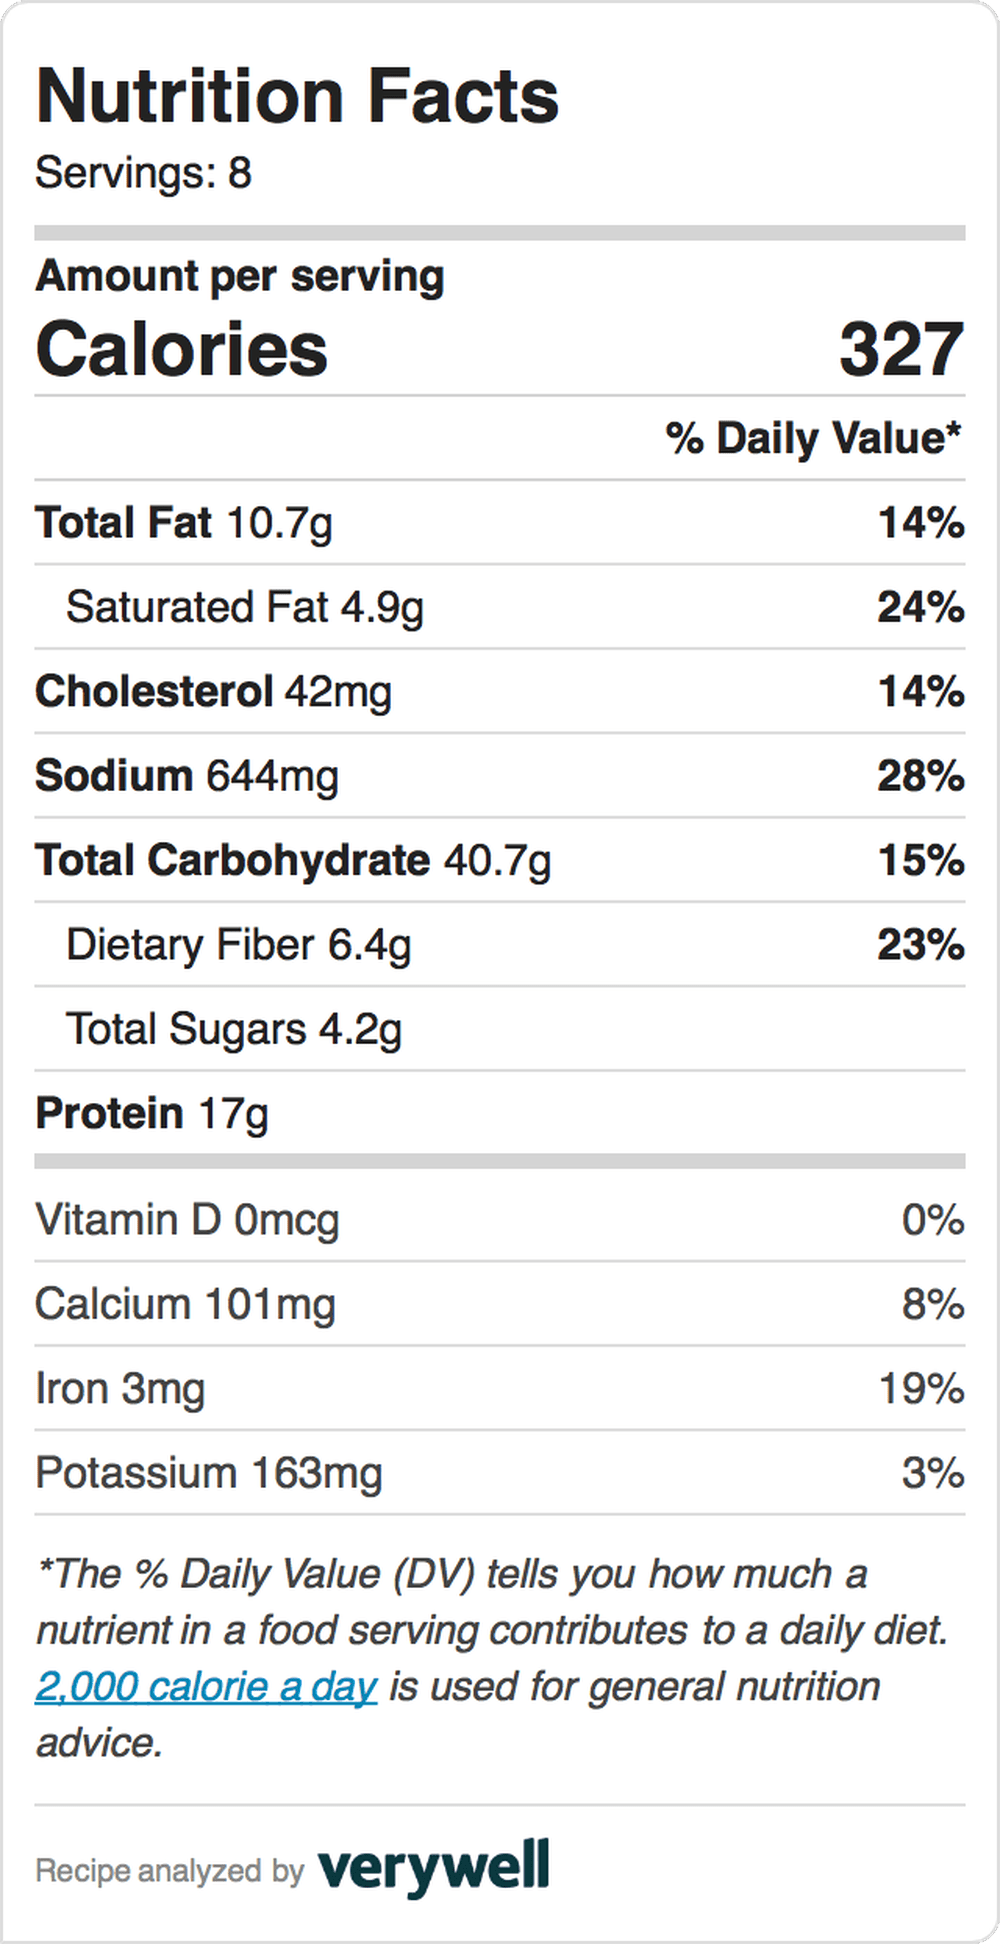
Nutrition Info- For pork tenderloin and sauce only